Implementation Guide
How to Migrate Your Patient Data to a New EMR Software
Switching EMR systems is a major step. The most critical part of the process is ensuring your patient data moves safely and accurately. This guide breaks it down.
You’ve done the research and selected a new Electronic Medical Record (EMR) system that promises to improve your practice’s efficiency. But one major hurdle stands between you and your new software: **EMR data migration**. This process involves transferring years of valuable and sensitive patient information from your old system to the new one, and it’s often the most challenging part of an EHR implementation.
A poorly planned migration can lead to data loss, workflow disruptions, and even risks to patient safety. However, with a structured approach, you can ensure a smooth and successful transition. Here is a step-by-step guide to navigating the EMR data migration process.
Step 1: Planning and Assessment
Before you move a single byte of data, you need a detailed plan. Work with your new EMR vendor to answer key questions:
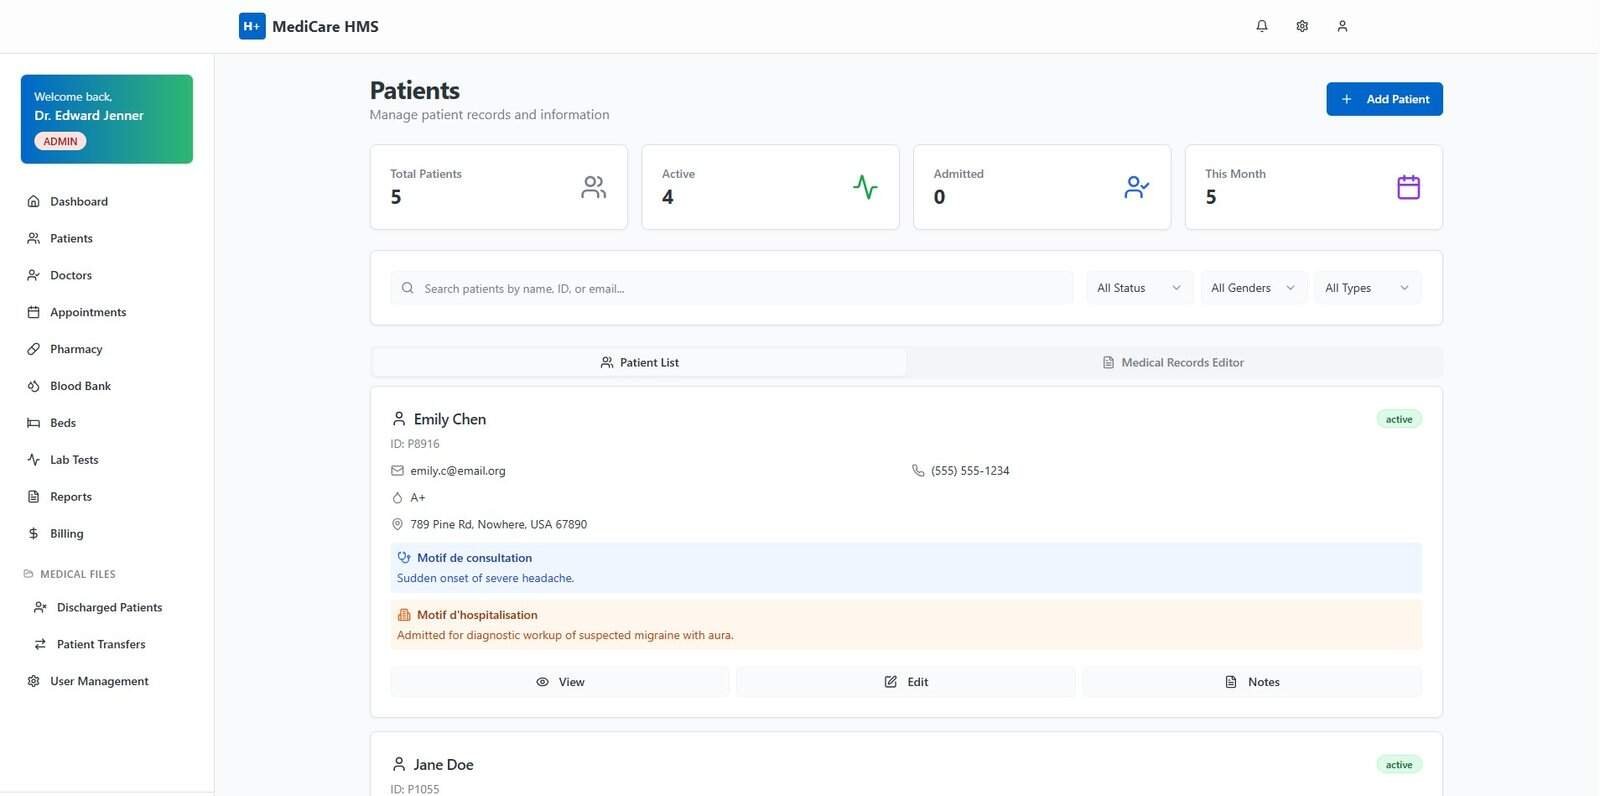
- What data needs to be migrated? Will you move all historical data or just data from the last few years? This includes demographics, clinical notes, problem lists, medications, allergies, and billing information.
- What is the format of the old data? Your vendor needs to know how the data is structured in your current system to plan the extraction.
- Establish a timeline: Set clear deadlines for each stage of the migration process.
Step 2: Data Extraction
This step involves exporting the data from your old EMR system. Your current vendor should provide a way to do this, often in a standard format like CSV (Comma-Separated Values), HL7, or CCDA (Consolidated Clinical Document Architecture). This raw data export is the foundation for the entire migration.
Step 3: Data Cleansing and Mapping
This is the most critical and time-consuming phase. It’s rare for data from an old system to be perfect. This step involves:
- Cleansing: Identifying and correcting errors, removing duplicate patient records, and standardizing data formats.
- Mapping: “Mapping” involves telling the new system where to put the old data. For example, you’ll map the “Patient_FirstName” field from your old system to the “Patient First Name” field in the new system. Your new EMR vendor will typically lead this process with your input.
Step 4: Testing and Validation
Never perform the final migration without a test run. Your vendor should migrate a small subset of your data into a test environment. Your staff must then rigorously review this test data to ensure everything mapped correctly and that the information is accurate and usable. This is your chance to catch and fix any errors before the “go-live” event.
Step 5: The “Go-Live” Migration
Once you’ve validated the test migration, it’s time for the final cutover. This is typically scheduled during a weekend or after hours to minimize disruption to your practice. During this time, the final, complete data set is migrated from the old system to the new one.
A Successful Migration is a Planned Migration
While complex, **EMR data migration** doesn’t have to be a source of stress. A successful transition depends on meticulous planning, close collaboration with your new software vendor, and thorough validation at every stage. By following these steps, you can ensure the continuity of care and start reaping the benefits of your new EMR system from day one.
Don’t Risk Your Patient Data
A smooth data migration is part of our commitment to you. Our experienced implementation team handles the entire process, ensuring your data is transferred securely and accurately. Schedule a demo to learn more about our seamless onboarding process.